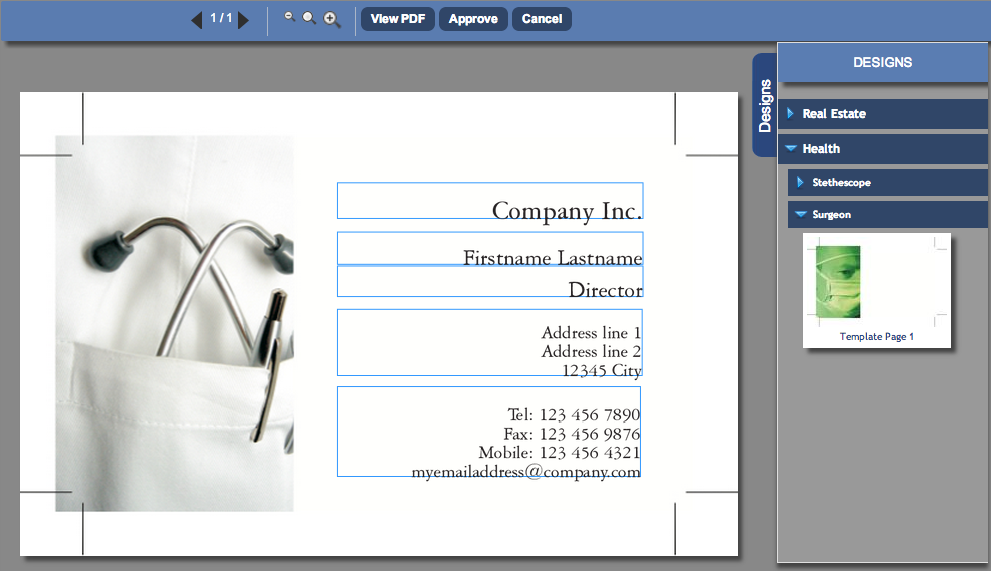
The Designer allows you to create Categories to sort the various templates that you upload for a product. If you offer a business card product, you could have categories for the different template groups like Health, Real Estate, etc.
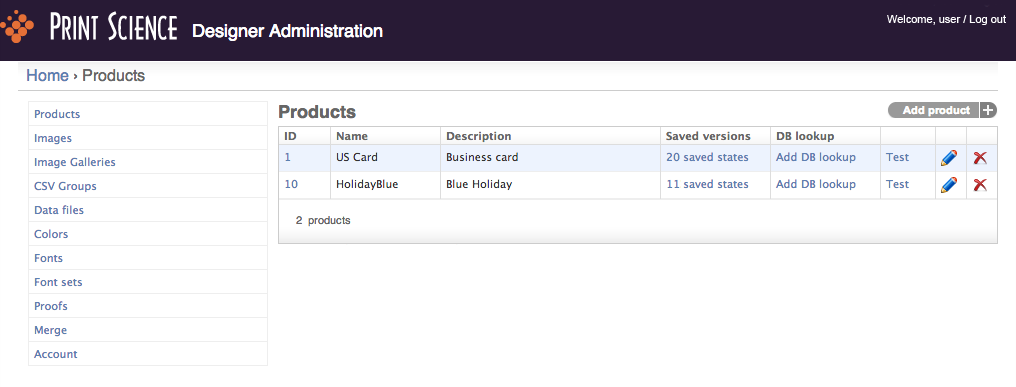
 |
Modify Icon |
Allows you to modify Products, Templates, Images, Image Galleries, Data Files, Colors, Color Sets, Fonts and Font Sets throughout the Designer Admin. |
 |
Delete Icon |
Allows you to delete Products, Templates, Images, Image Galleries, Data Files, Colors, Color Sets, Fonts and Font Sets throughout the Designer Admin. |
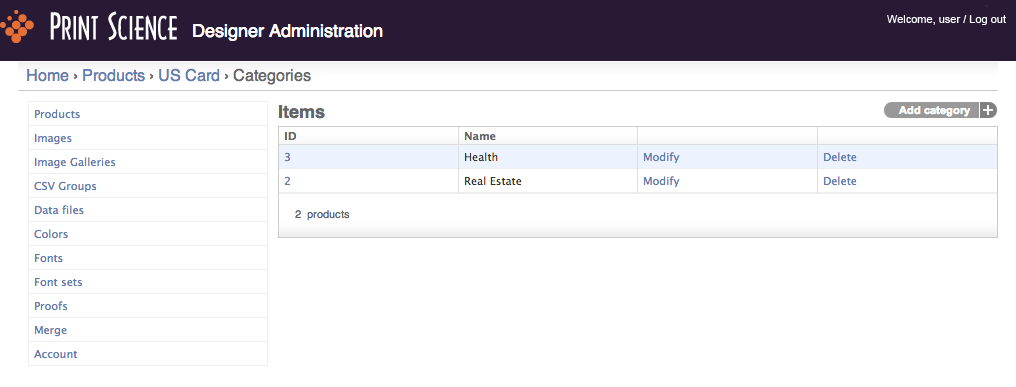
To create a Category for your templates, you'll first need to **Add a Product** and name it. Click **Modify**, then **Manage Categories**. Click **Add Category** and name it accordingly.
Once your categories are created you can start adding templates. Click **Add Template** to select your file.
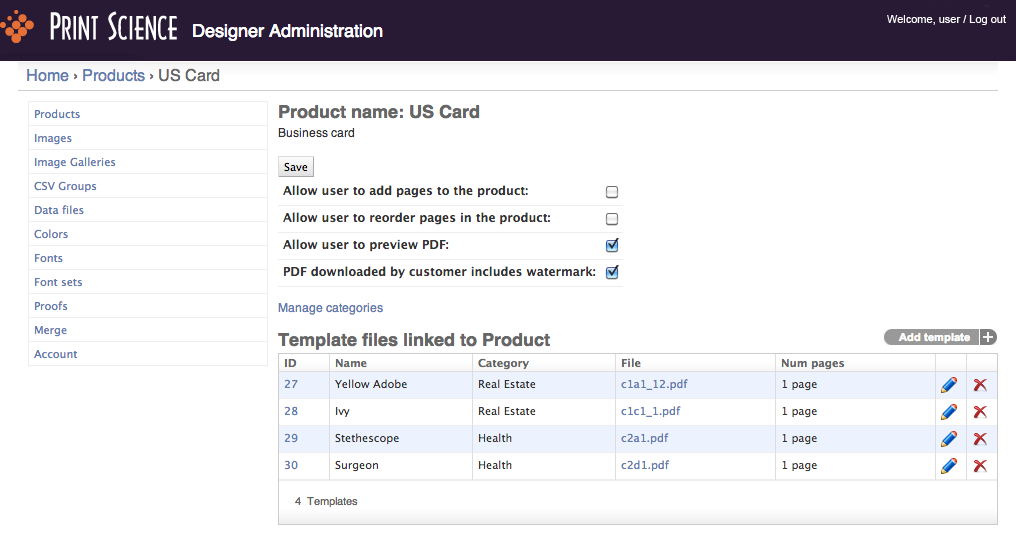
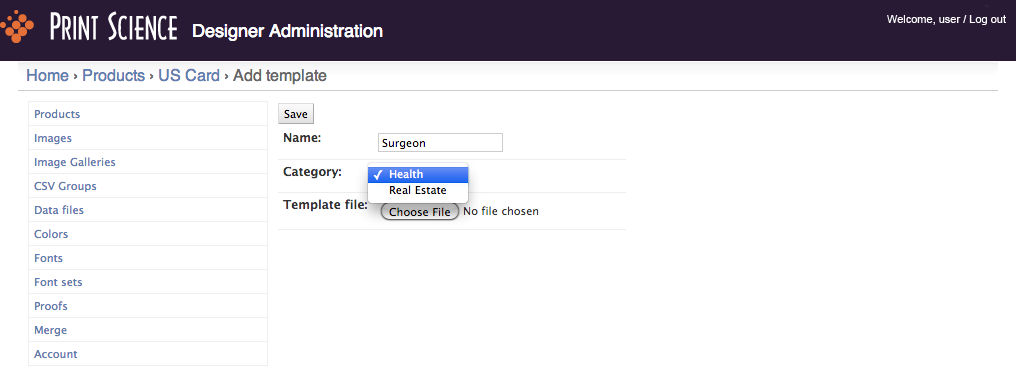
Once you are ready to select your template file you will see the categories you created in the Category dropdown. Select the appropriate category for your template.
Once your templates are uploaded to their respective categories they will display to your users on the right side of the design interface. User can expand the categories and select their desired template. You can display all of the templates at the same level, without Category names, in the Designs panel by checking the option **Designs panel displays all templates at the same level** in the Product Options.